Logo Loidhold Hochwasserschutz
Easy to assemble - adaptable

HOWA KIT
Flood protection made easy

The sandbag has support

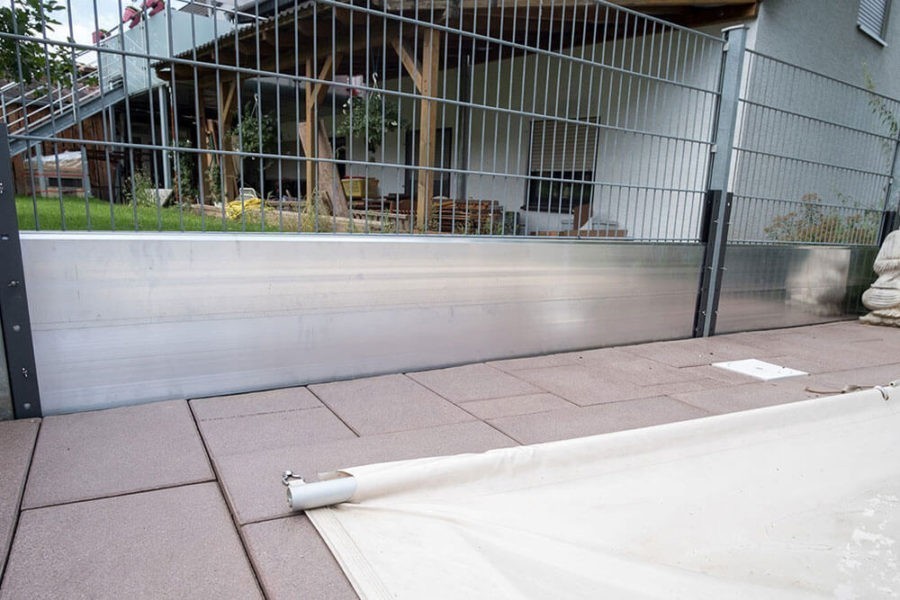
Flood protection made easy.

Oil binding hose

Climate researchers make an urgent appeal: the extreme flood disasters of recent years were just the beginning. We are dealing with a century of phenomena. With the existing protection systems, ailing dykes, inadequate bank reinforcements and sandbags, states and municipalities are hopelessly lagging behind this development. And that, given the notoriously empty public coffers. Is there still a way out of the flood protection crisis?

HOW TO DO IT

Flood kit

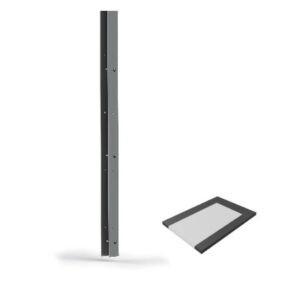
STEP 1: Attach the rubber finishing pad to the bottom of the wall molding, cut into it and fold inwards.

Flood kit

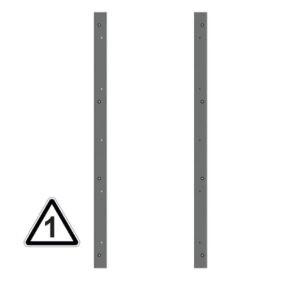
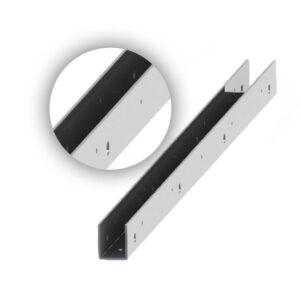
STEP 2: Wall mounting the U-rails. Please note that your profiles are 1.20m wide. If necessary, you can of course shorten the profiles.

Flood kit

STEP 3: Stick long rubber strips (1m) on the inside of your wall molding. Attention: Do not stick on under tension, the rubber strips should end flush with the rail.

Flood kit

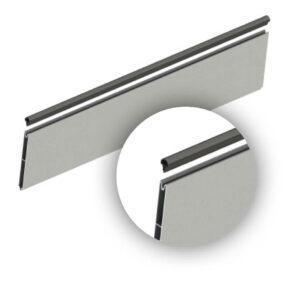
STEP 4: Press the rubber seal into the aluminum profile. Note: Our silicone spray makes the rubber profiles easier to assemble.

Flood kit

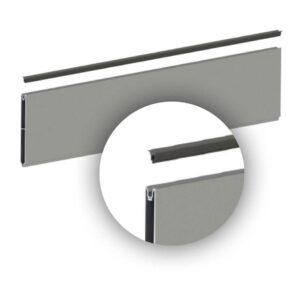
STEP 5: Press intermediate rubbers into the two profiles. Note: Adhesive for fixing to the aluminum profiles optionally available.

Flood kit

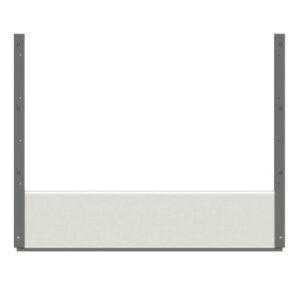
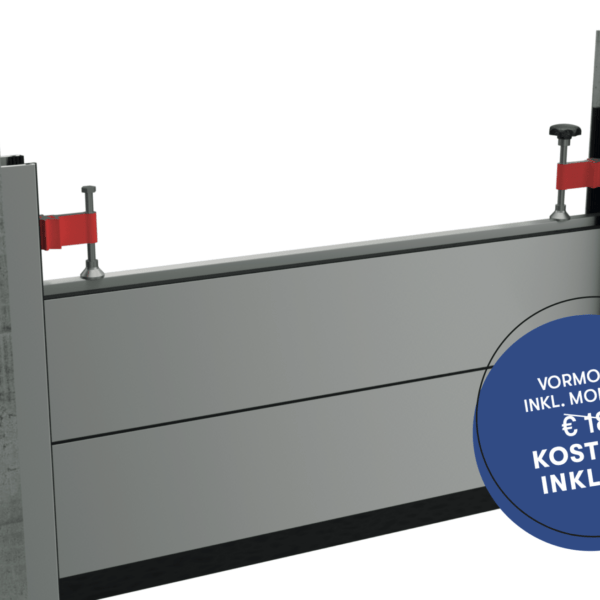
STEP 6: First insert the aluminum profile with the sealing rubber and fix it with the wing nuts with appropriate downward pressure. Repeat this process for the aluminum profiles with the intermediate rubbers.

Flood kit

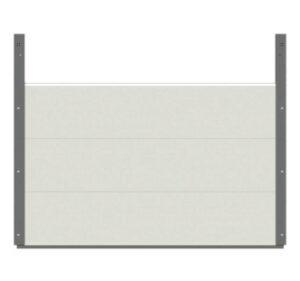
STEP 7: Check your connections to the floor and wall again if necessary. Further measures are required to almost completely prevent the ingress of water.

Flood kit

NOTE: Please check your floor and wall surfaces, in the case of larger unevenness you can also use our accessories such as tape, plastic-Fermit to even out these or smooth the existing area at your discretion.

The products